|
|
Devices << ArduinoDevice << ArduinoDevices << SeeedDevices << SeeedShieldBot | Software Overview | Sitemap | Downloads | Developers | Forums |
|
|
Devices << ArduinoDevice << ArduinoDevices << SeeedDevices << SeeedShieldBot | Software Overview | Sitemap | Downloads | Developers | Forums |
|
|
Configuring a Shield Bot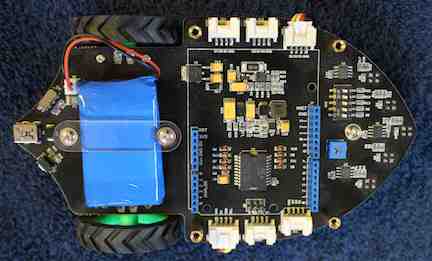
The Seeed Studio Shield Bot is a vehicle with 2 independently controlled wheels in the rear and a single roller in front. It comes equipped with a set of 5 line sensors and 6 Grove plugs. An Uno Arduino plugs into the bottom of the bot, which is why the Shield Bot is a type of (oversized) shield. To see a Recipe using this Script to create a joystick controlled wireless Shield Bot, look here. There are 2 versions of the Shield bot: 0.9b and 1.1 (the 1.0 version is the same as the 0.9b, from a scripting standpoint). There are 2 Scripts, one for configuring the 0.9b version and one for configuring the 1.1 version. They are called ShieldBot_V0.9b and ShieldBot_V1.1. The Scripts create the terminals necessary for controlling the 2 powered rear wheels on the bot. At this time, the Scripts do not create terminals for the 5 builtin IR sensors (though you can add them as Arduino inputs). The ShieldBot_V0.9b and ShieldBot_V1.1 Scripts require the following parameters:
The three left motor terminals work together to control the motor's direction and speed. When the left_mot_pos terminal is The right motor has a similar set of parameters and operates the same way as the left motor.
To add a Shield Bot on the Arduino with ID "arduino" with left motor terminals named "l_pos", "l_neg", "l_en", and right terminals named "r_pos", "r_neg" and "r_en", the parameter values for the ShieldBot Scripts are as follows:
|
Catalina Computing, LLC.Copyright © Catalina Computing, LLC. (2013-2018) 
|
Page last updated: Wed Jan 7 15:25:03 2015 (UTC) |